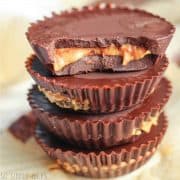
If you need a little chocolate fix, this dairy-free vegan peanut butter cups recipe is going to be a hit. It’s really easy to make these homemade candies and you get to control the ingredients.
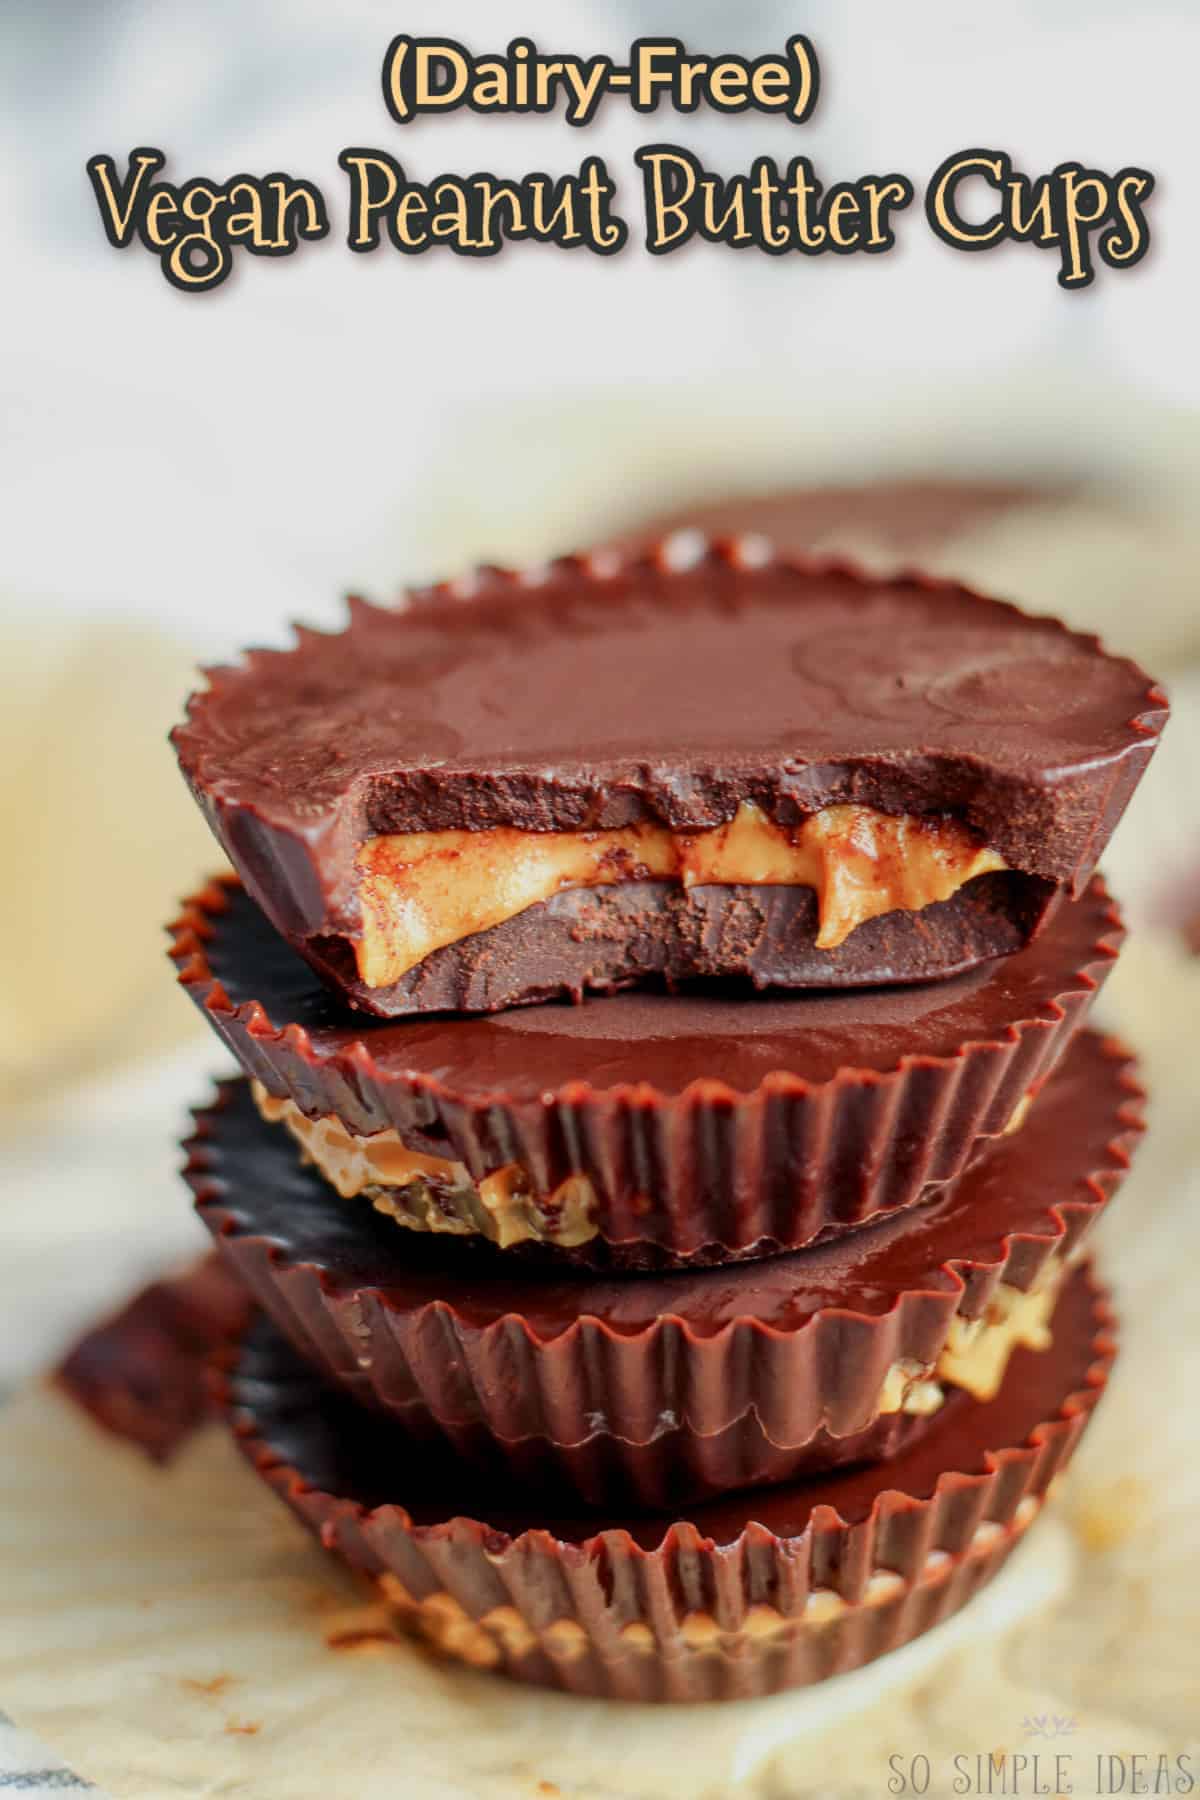
If you have a sensitivity to dairy or stopped eating animal products, you may have a hard time finding pre-made chocolate candies. That’s because most chocolate adds milk-based ingredients to make it creamy.
The other option is to look for dark chocolate which should be dairy-free. But you need to be careful as some brands also add milk products to their dark chocolate for a better taste and texture.
If you can’t find dairy-free peanut butter cups or the ones you find are too pricey, why not make your own? You may be surprised to learn that making your own chocolate candy is much easier than you thought it would be.
These homemade peanut butter cups with coconut oil are a great alternative for those who are vegan. In fact, these easy to make chocolate candies taste just as decadent as their traditional counterparts.
Table of Contents
Ingredients for Vegan Peanut Butter Cups Recipe
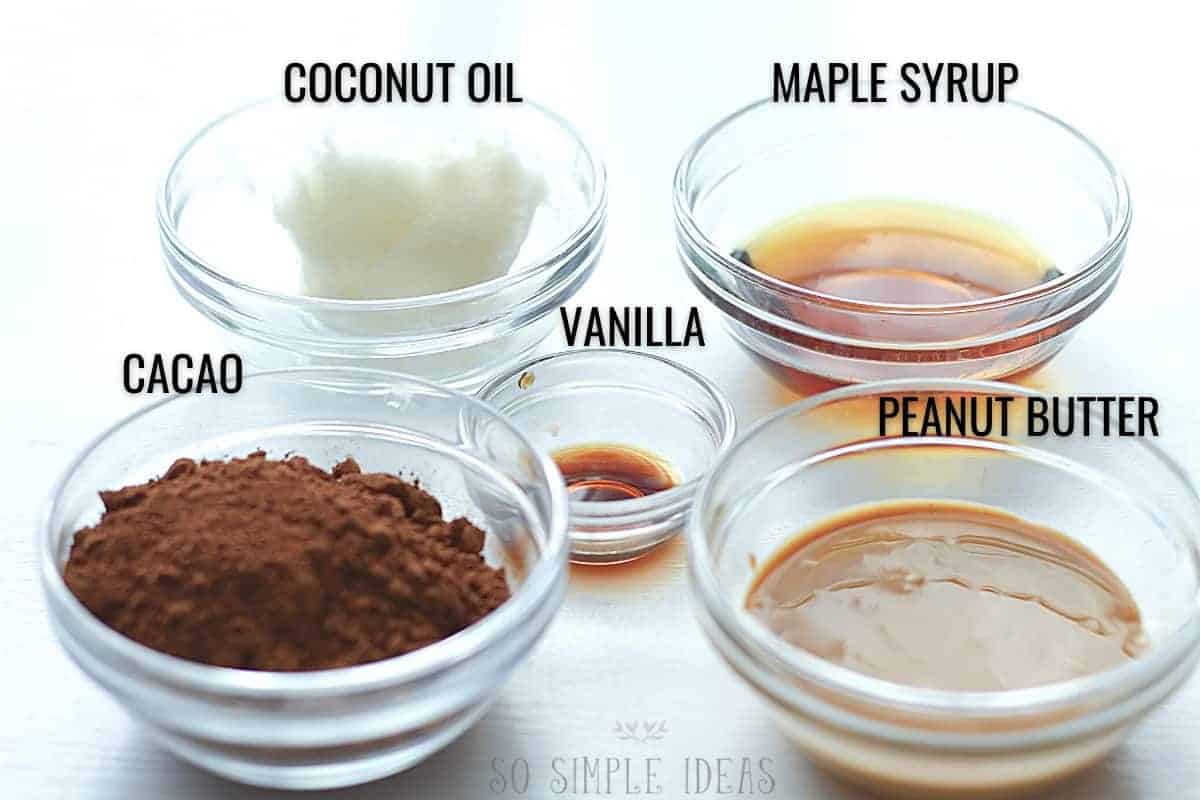
The best thing about this recipe is that you only need 5 ingredients to make it! You probably already have what’s needed in the kitchen so you won’t even need to make a run to the store.
Peanut Butter
The main ingredient is peanut butter. But you can easily replace it with another nut or seed butter for a different taste.
Popular alternatives are almond butter or sunflower seed butter. Just make sure whatever you choose is unsweetened and contains no added sweetener.
Cacao or Cocoa Powder
If you’re a health nut, go for cacao powder instead of cocoa powder. It’s a better source of protein, fiber, magnesium, and iron.
The only difference is that cocoa powder is made from beans roasted at a high temperature while cacao uses unroasted beans. However, cacao is the more expensive so if you’re on a budget, use regular unsweetened cocoa powder.
Fat
Most chocolate uses cocoa butter as the fat, but it can be expensive and difficult to find. That’s why I just use coconut oil instead to harden the chocolate.
You’ll just need to keep the peanut butter cups in the fridge as coconut oil melts at a lower temperature than cocoa butter.
Sweetener and Vanilla
To balance out the bitterness of the cocoa, you’ll need to add a sweetener and some vanilla extract. You can use whatever sweetener you prefer.
Real maple syrup is more nutritious than granular sugar and it has a lower glycemic index. But a keto simple syrup would work too if you don’t want any flavoring.
How To Make Dairy Free Peanut Butter Cups
The exact details for the recipe are in the printable recipe card at the bottom of this post. But you’ll find some step-by-step photos of the process here so you can see how they are made.
Prepare The Molds
You’ll want to line six muffin tins before starting. For an easier release, spray the liners with a non-stick baking spray or use silicone cupcake liners.
Make Chocolate Coating
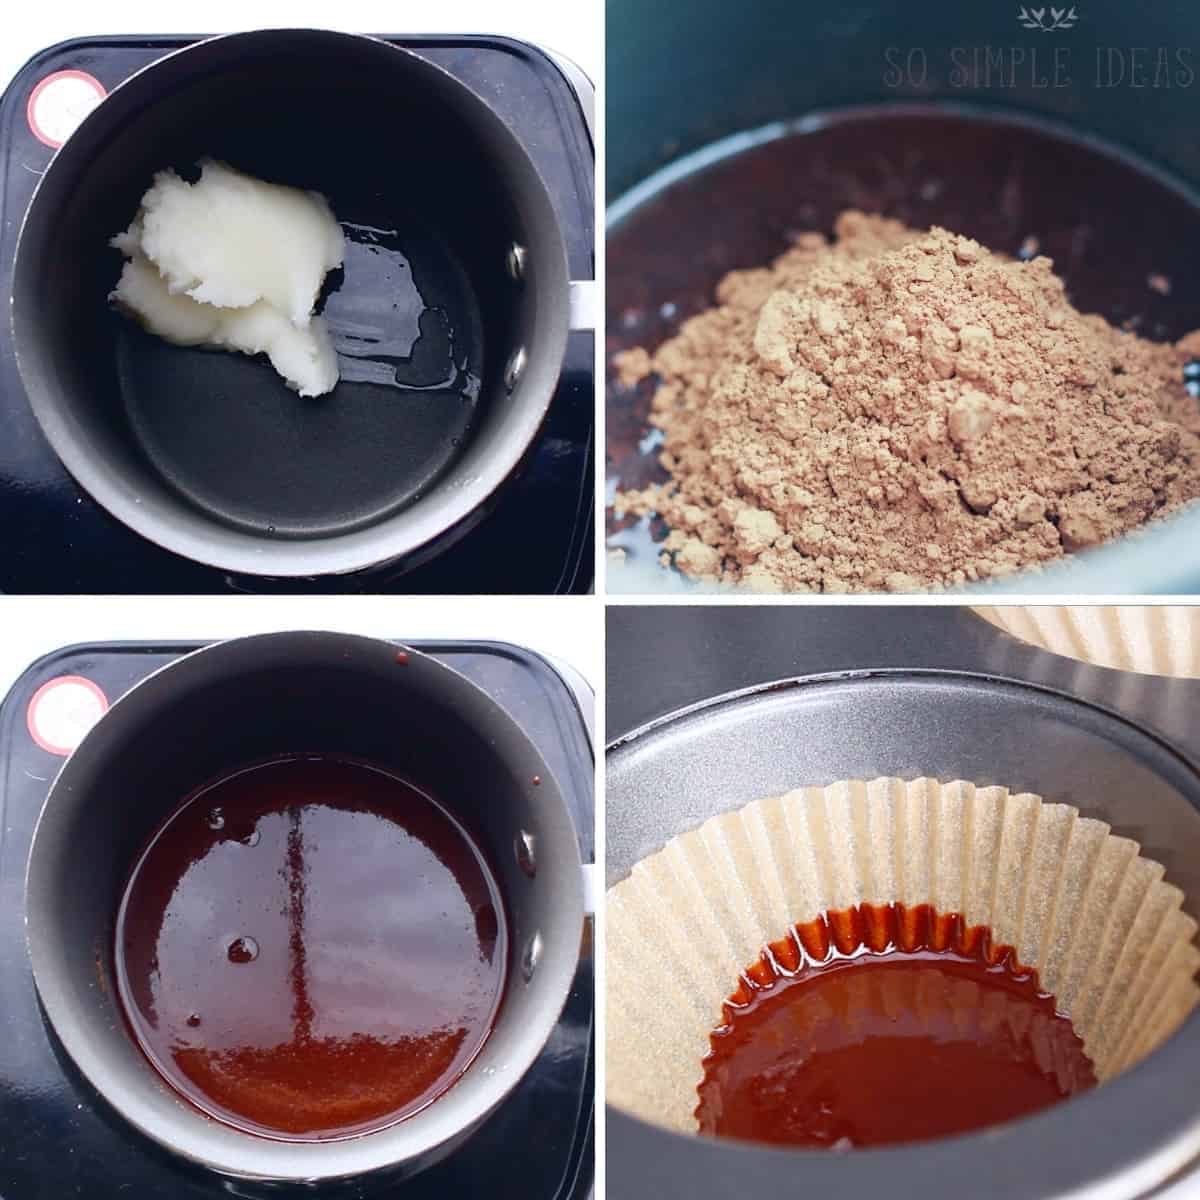
In a small saucepan, melt the coconut oil on low then whisk in the cacao powder. Remove from heat and whisk in maple syrup and vanilla.
Harden Chocolate Base
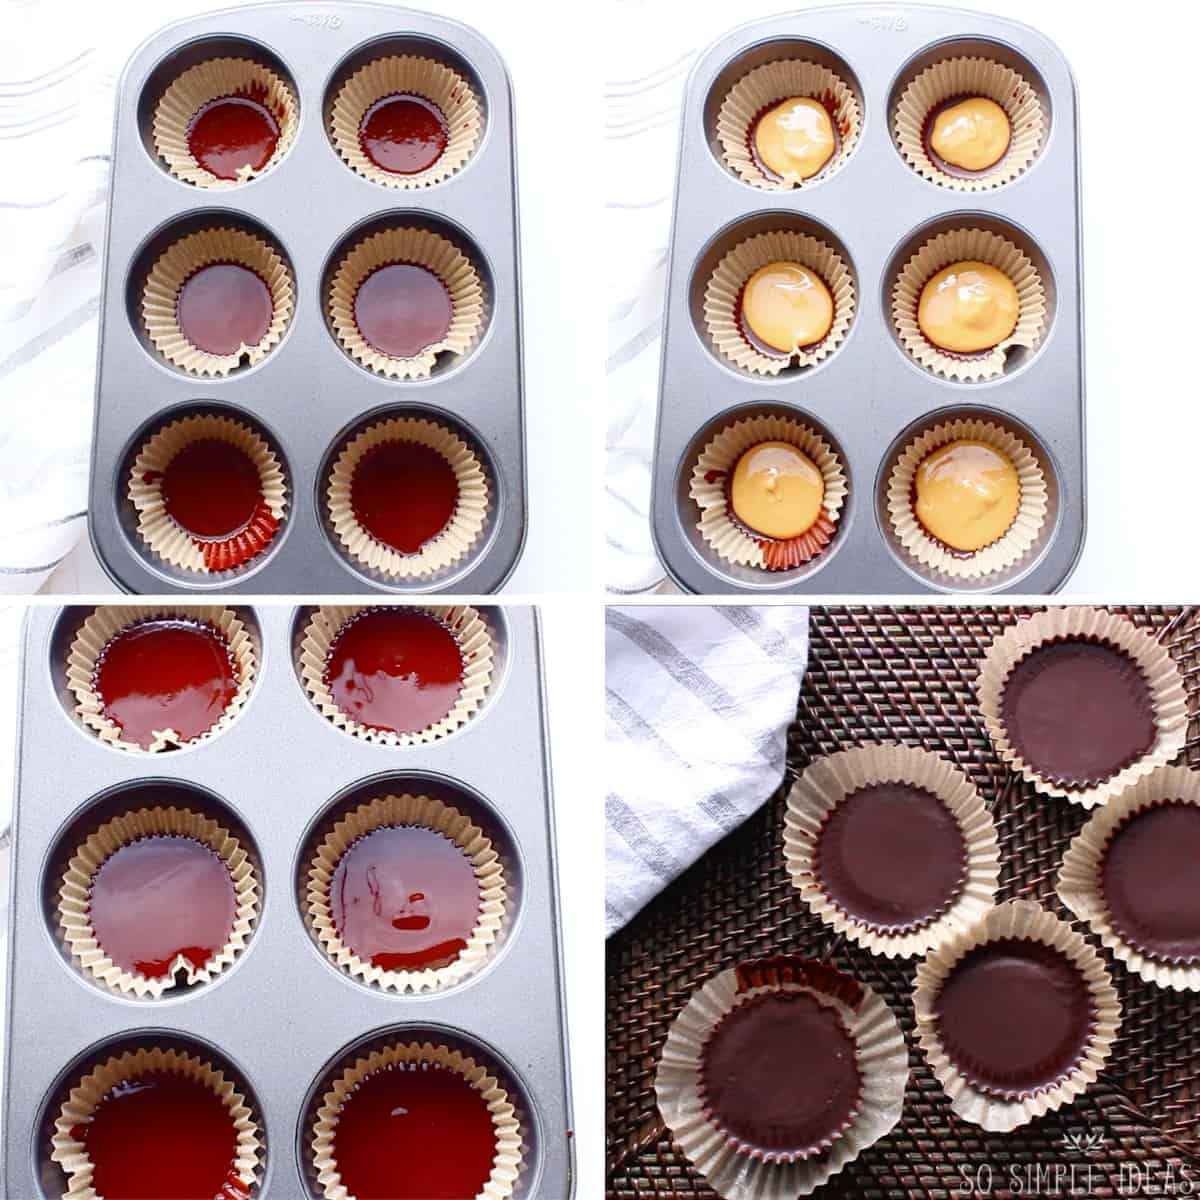
Place two tablespoons of the melted chocolate into each muffin liner. Place in the freezer for ten to fifteen minutes or until hardened.
Add Peanut Butter
Drop one tablespoon of peanut butter onto the center of each frozen chocolate base. Try to leave space around the edges for the top layer of chocolate to fill in.
Top With Chocolate
Place one tablespoon of the melted chocolate on top. Spread gently into an even layer ensuring it drips into the sides of the peanut butter.
Harden The Top Layers
Put the cups in the freezer for twenty to thirty minutes until the chocolate tops have hardened.
Quick Tips
I’ve listed some cooking tips and tricks for beginners if you want to make these peanut butter cups like a pro.
- Leave space around sides of peanut butter. If you don’t leave space around the sides of the peanut butter, the melted chocolate can’t fall down around it.
- Use cupcake liners. Be sure to use liners in your muffin baking tins so the cups don’t stick in the pan. Paper liners will also make cleanup easier.
- Freeze the peanut butter in thin circular disks. Just add a tablespoon of peanut butter in the bottom of narrow bottomed silicone cupcake liners. Then freeze for 20 to 30 minutes. Release the frozen disks from the molds and place one on top of each bottom chocolate layer. When frozen, the peanut butter won’t mix with the top chocolate layer.
- Make mini sizes. Use a lined mini muffin pan to get bite-sized treats.
- Add a pinch of salt to the chocolate. A little sprinkling of sea salt into the melted chocolate will enhance the flavor of the cacao.
- Use a low-carb sweetener. On a keto diet? You can easily make the treats keto-friendly by replacing the maple syrup with a zero net carb sweetener or syrup.
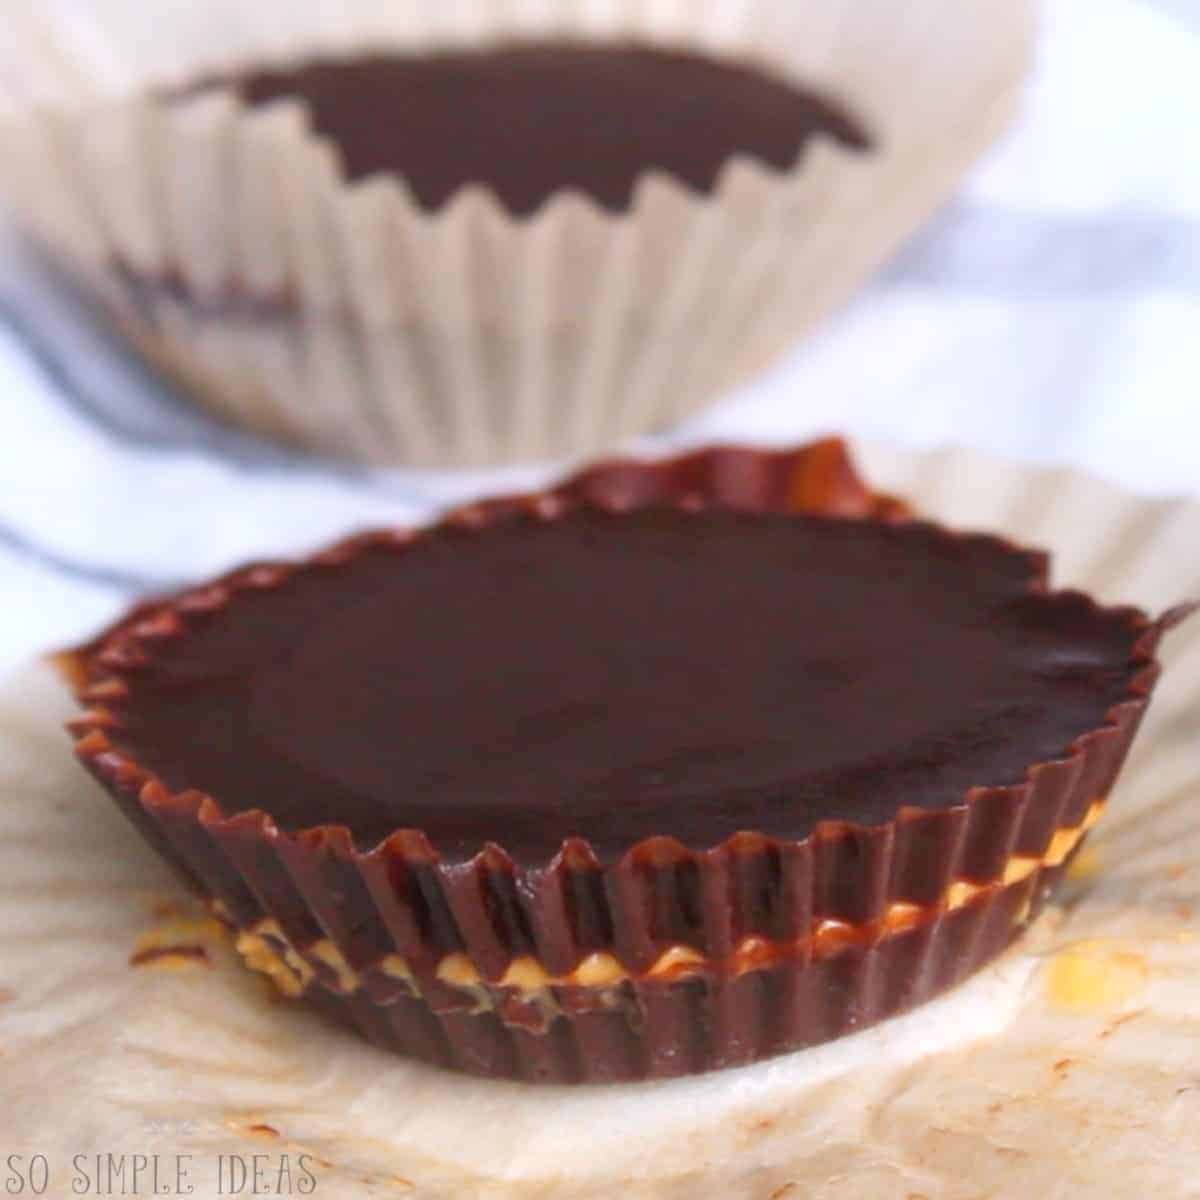
Frequently Asked Questions
If you’re new to a dairy-free lifestyle or have never made homemade peanut butter cups, you may have some questions. I’ve collected the most common questions and answered them here.
Are all peanut butter cups vegan?
Unfortunately, traditional peanut butter cups like Reese’s contain milk products. Even the Reese’s Organic Dark Chocolate cups add organic milk to the chocolate.
Where to buy vegan peanut butter cups?
Most stores carry the Justin’s dark chocolate cups. They are certified to be organic, gluten-free, kosher, vegan, and dairy-free.
What are the best brands?
Justin’s and Unreal are the most popular brands. But you may want to check out the Theo Organic Dark Chocolate Cups too.
How should they be stored?
Wrap each cup tightly in moisture-proof plastic wrap and keep them in an airtight container in the refrigerator. They will keep for six months or longer. If you want to store them longer, you can freeze them for a year or more.
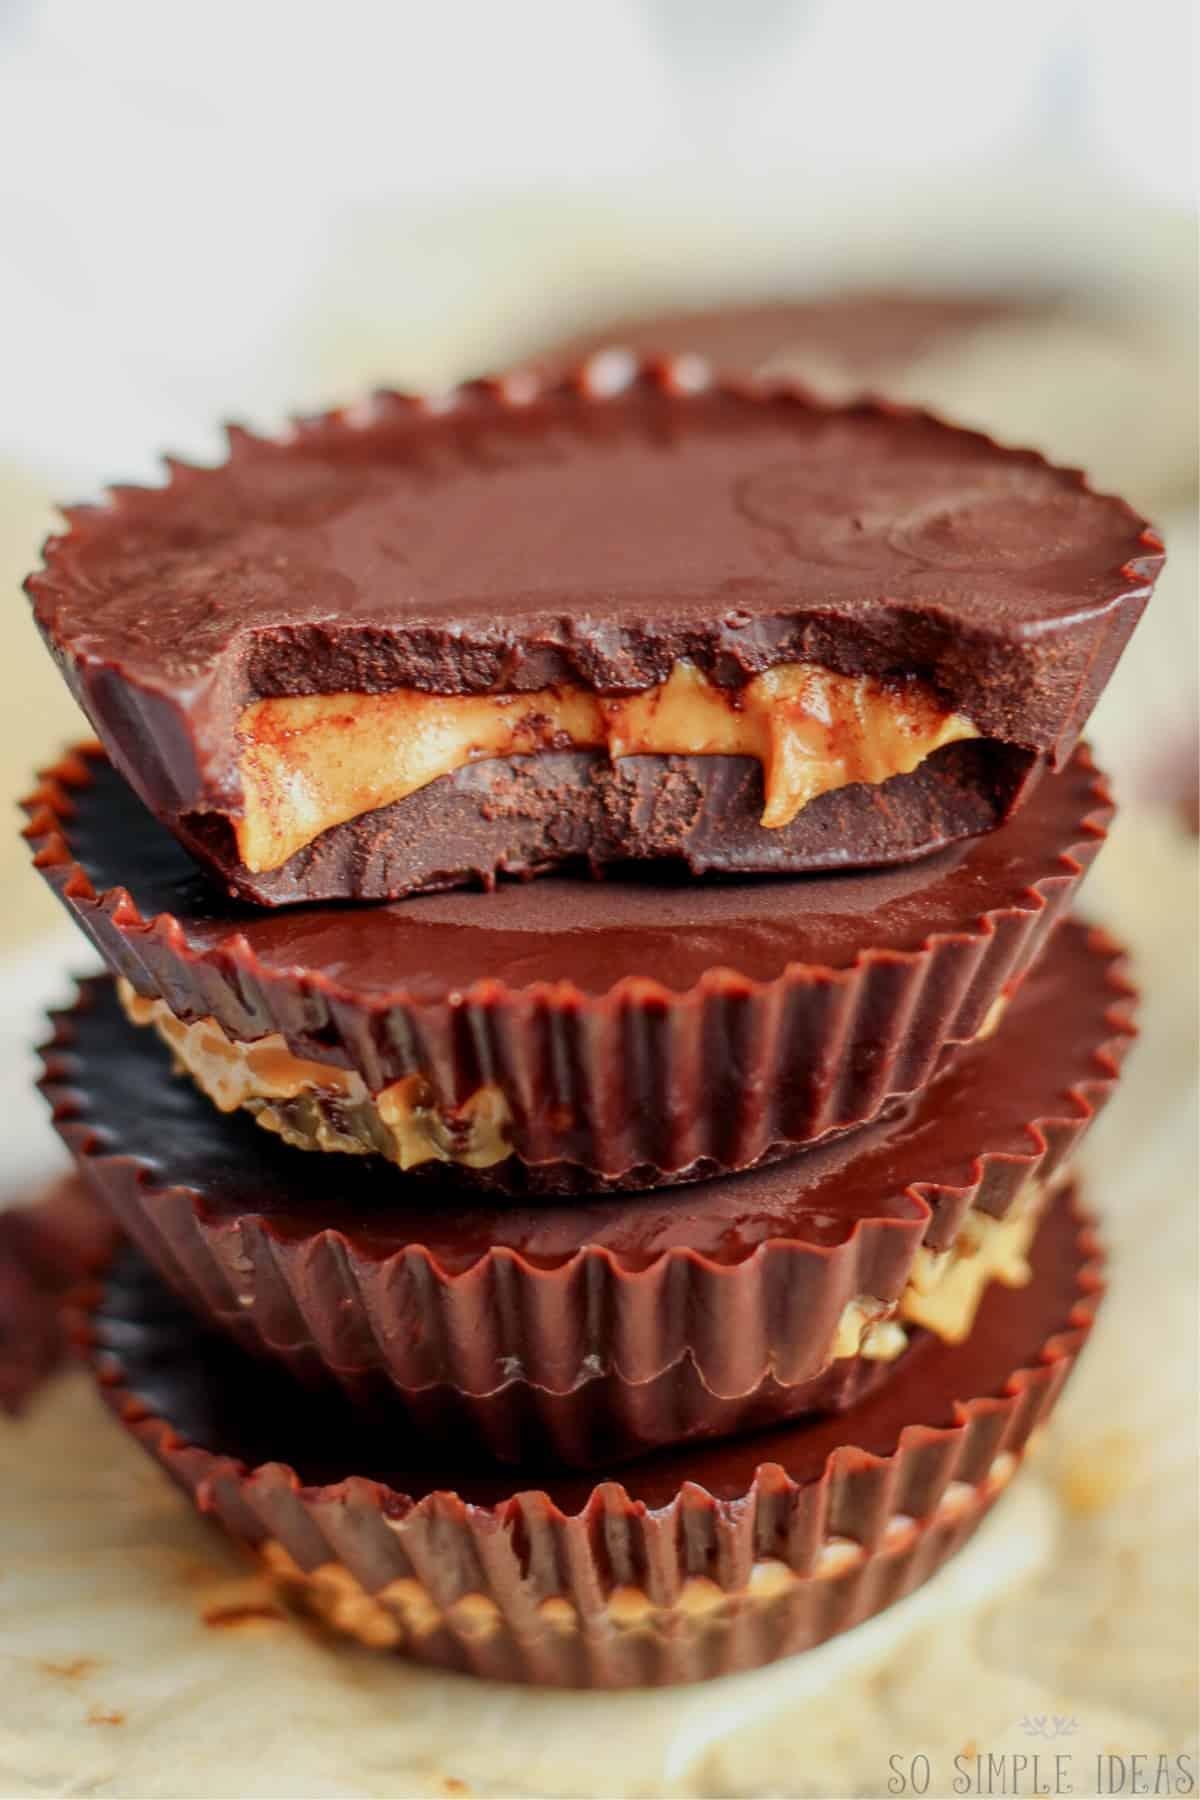
The Best Vegan Peanut Butter Cups
These homemade peanut butter cups are easy to prepare, with just a few, all natural ingredients. I really enjoy making them and keeping them frozen to pop out and enjoy one at a time. So yummy!
The best thing about making your own chocolate candies is that you can tweak the recipe to suit your own taste. Maybe you prefer using honey as a sweetener or prefer a different filling. Those changes are super easy to do when you make them yourself!
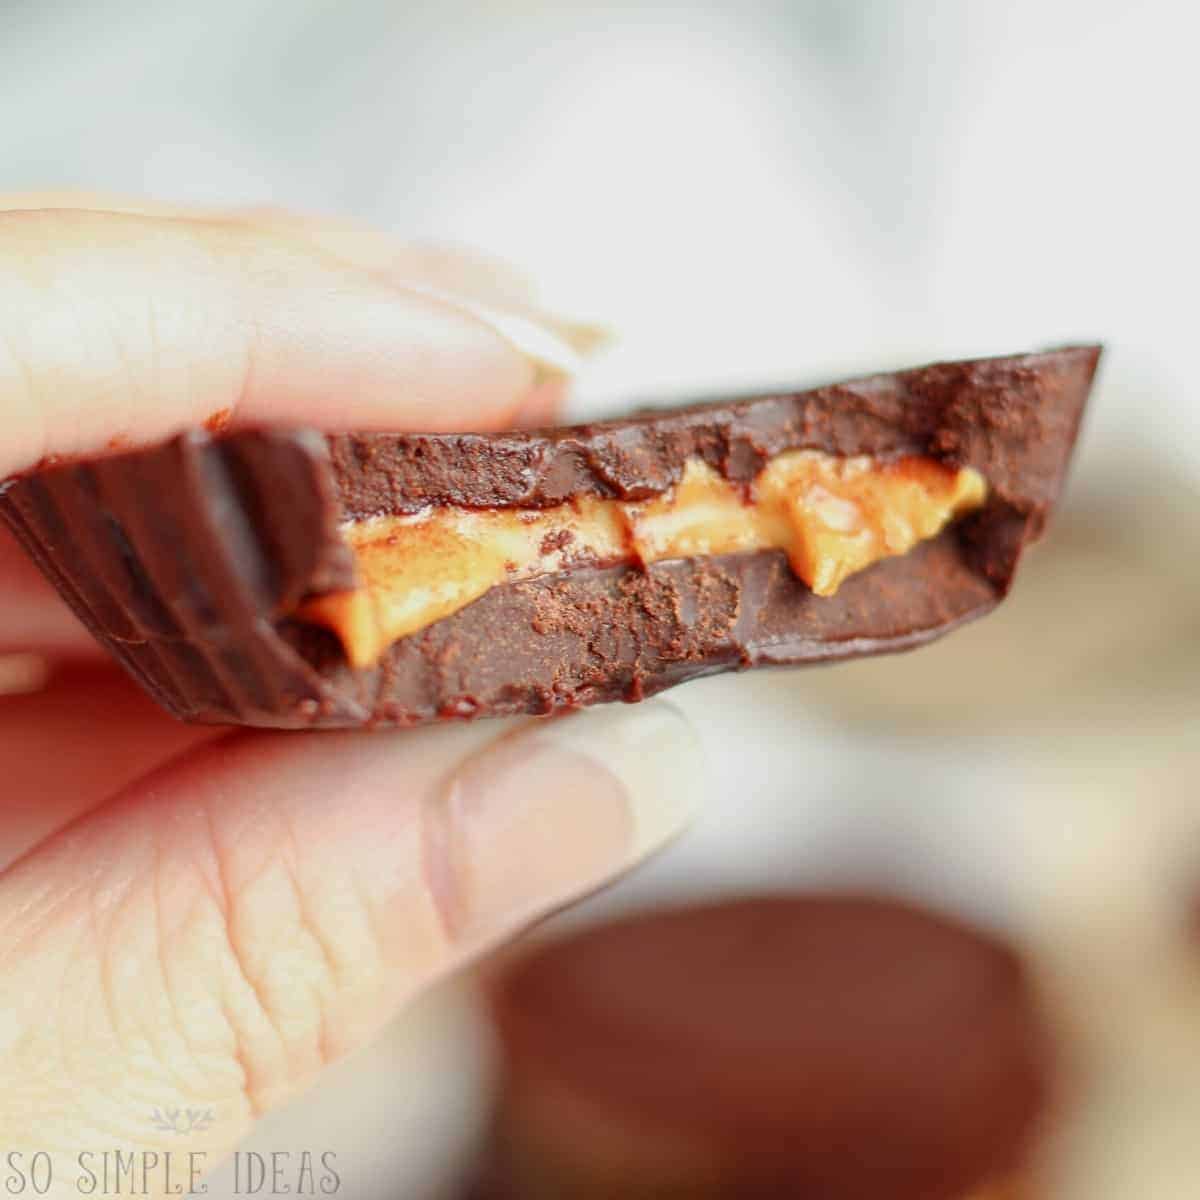
Other Dairy-Free Sweet Snacks
Looking for more gluten-free and dairy-free treats? Check out some of these other tasty recipes.
- Gluten Free Dairy Free Chocolate Chip Cookies have the taste and texture you love without the wheat or milk products.
- Keto 3 Ingredient Peanut Butter Cookies may just be the most simple low-carb cookie recipe ever!
- Paleo Brownies are made with gluten-free flours, cacao powder, and sweetened with maple syrup.
- Chocolate Covered Peanut Clusters use a sugar-free dark chocolate coating that’s also low-carb and keto-friendly.
- Peanut Butter Fat Bombs are easy to make dairy-free and melt in you mouth like fudge.
- Keto No Bake Coconut Cookies take only a few short minutes to make!
- Vegan Chocolate Pudding is creamy and delicious without any milk products!
Vegan Peanut Butter Cups (Dairy-Free)
Ingredients
- ¼ cup creamy peanut butter
- ½ cup coconut oil
- ½ c cacao powder or cocoa powder
- 2 tablespoons pure maple syrup
- 1 teaspoon vanilla extract
Video
Instructions
- Place baking cup in a muffin tin (I like this muffin tin for this recipe), spray with non-stick baking spray.
- In a small saucepan, melt coconut oil on low. Whisk in cocoa powder.
- Remove from heat and add maple syrup and vanilla, whisking until smooth and shiny.
- Place 2 tablespoons of melted chocolate mixture into the bottom of the muffin tin.
- Place in freezer for 10-15 minutes and allow chocolate mixture to harden.
- Take a tablespoon of peanut butter and place on top of the frozen chocolate mixture.
- Place one tablespoon of melted chocolate on top into an even layer, making sure chocolate drips into the sides of the peanut butter.
- Place in freezer for 20-30 minutes to harden.
Notes
year or more.

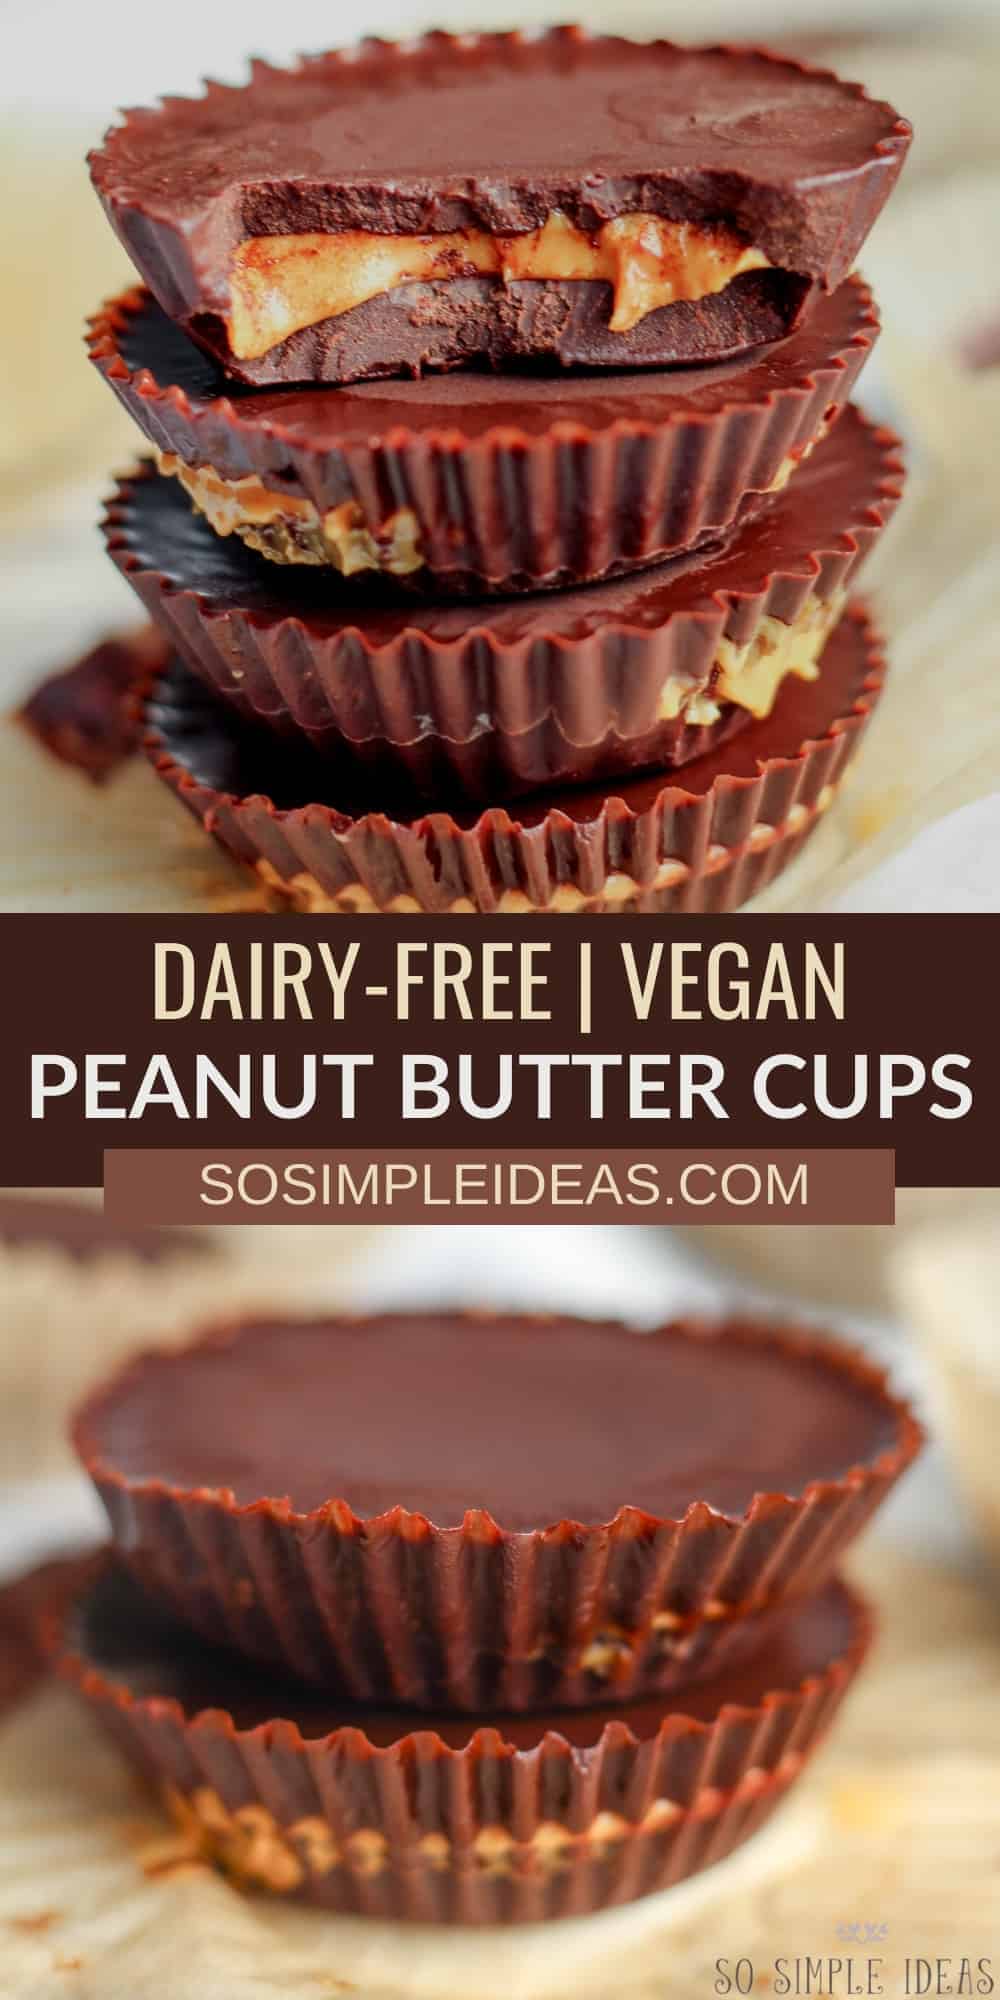
These are even better than the original! They are my current go-to treat when I have a sweet tooth.
I love making this recipe for my two sons. It’s just about their favorite treat ever. Thanks for a great and fun recipe.
Such a simple treat! Love the ingredients, too. Thanks!
these are my new favorite!!! thanks for the recipe!